
Photo Credit: Marc Wathieu
Guest blog post by Subreel. Please check out their website for more audio equipment reviews, how-to guides and loads of other musical information.
Being a drummer can make your life awkward, especially compared to other instruments. Your instrument is the hardest to transport, requires a lot of maintenance and expense, and as you may expect, drums are the hardest of the mainstream instruments to record. That said, it has become more simple in recent years and many drummers are taking the opportunity to lay down demos, create backing tracks and self-record for a variety of reasons. We’re covering the basics of doing so, and how you can get started in this article.
The main difficulty when it comes to recording drums is the fact that you need multiple microphones. The various different drums and cymbals, and the huge variety of sounds they create mean that recording them with one mic isn’t going to do it justice, and certainly won’t be usable for professional records. Many musicians have turned to USB microphones in recent years, but that is possibly the more difficult option for drums.
Microphones
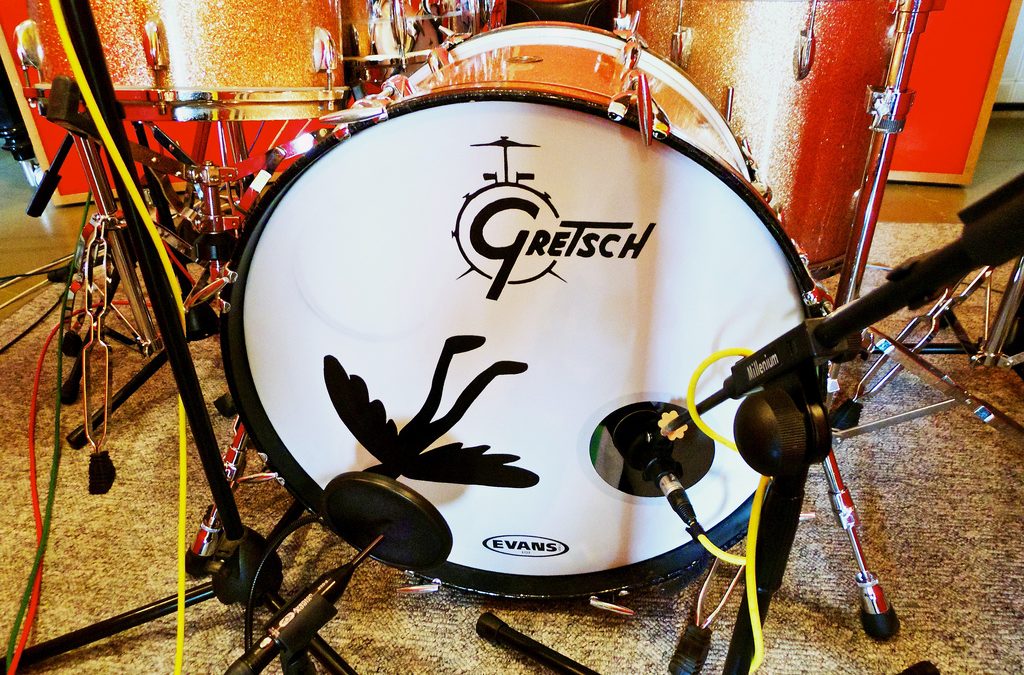
You will need a minimum of three microphones.
• At least one overhead mic, and often two. A matched pair of Condenser microphones are standard, this can be as luxurious as AKG C414s, or their cheaper alternative the C214. Alternatively, a budget model such as the MXL990 can do a good job.
• One snare mic. This can be as simple as a Shure SM57 or a similar dynamic microphone. SM57s pick up the frequencies required very well and they’re very durable, so they’re not likely to break if they take an accidental hit or two.
• One kick drum mic, this is normally an AKG D112 due to its immense ability to pick up bass frequencies.
You will probably then want to add more microphones to get more detail in your recording, and more importantly to gain more control. If you record with one microphone you can’t adjust the volume of individual parts of the kit, so your kick drum might disappear, for instance. For this, you are going to need either a small mixing desk (4-8 inputs as a minimum) which you can run your microphones into. Alternatively, drum brands such as Sabian have started providing audio interfaces for your drums, the Sabian Sound Kit. These are a brilliant way to get four of five different mic inputs going straight into your laptop or computer for editing.
Acoustics
When it comes to home recordings, this is the most overlooked aspect. Unless you are lucky enough to live in Abbey Road, you’re going to need to treat the room you are recording in. Acoustics can be incredibly complicated, but just some simple basics can make a huge amount of difference. The room you are recording in should have a lot of absorption. Acoustic treatments are ideal, but if you can’t afford these then simply hanging up some blankets or duvets and filling the room with furniture will do a lot to deflect and diffuse the reverberations of the sound. Even if you think the room sounds ‘nice’, you want the recording to be as flat and dead as possible, reverb, EQ and other effects can be added later but if you get an unwanted reverb you won’t be able to get rid of it.
Mixing and Compression
Without control of the volumes, things can get chaotic pretty quickly. The mixer will serve to allow you to alter the volumes to your liking, and avoid the problem of suddenly having a very loud floor tom, but a disappearing snare. The main thing to worry about during recording is that you get a good, strong signal from every microphone. The levels can be tweaked in software afterwards.
Another essential aspect of a drum recording is compression. Simply put, compression brings the level of the sound to a more ‘even keel’. The louder aspects of the sound will be leveled out and the quieter aspects slightly boosted. In drums, this means that a lot more of the ‘body’ of the sound is brought out and the transients (the sound of the sticks hitting the drums) will be more subtle. Compressors have different presets and controls to allow you to tweak things. You can choose to compress individual tracks or even the whole kit, but our ears are used to hearing compressed drums, and this simple step can greatly enhance your overall sound.
Recording Alone?
Even in professional studios and full-band recording sessions, overdubs and editing are commonplace. There are a few things to consider when recording alone. You don’t have to get it exactly perfect for the whole duration of the song, and replacing missed hits and bum notes is not uncommon, nor is it selling your soul! To make life easier when it comes to layering, recording to a click track (metronome) will help you to stay perfectly in time. This is helpful not only for editing (some will even loop sections of good drumming) but it is helpful for those of us who are liable to speed up or slow down throughout a song.
Practice
Recording is as much of an art as your drumming. You don’t have to become a pro audio engineer to get good recordings, but practicing and experimenting is the best way to get to grips with things and create a sound you are happy with. Different mic positions will work better, different combinations of microphones and experimental room mics can all make a difference to your sound, and the best way to get the best sound is to invest the time into getting it right.
Guest blog post by Subreel. Please check out their website for more audio equipment reviews, how-to guides and loads of other musical information.